How to Sear Meat for a Real Crust (Pan Temperature Guide)
A real sear is a deep brown crust, not a grey, weeping piece of meat. It comes down to a few controllable things: a dry surface, a hot enough pan, and leaving it alone. Here is exactly how.
A good sear is one of the biggest upgrades you can make to anything you cook, whether it is a steak for dinner, chicken thighs for a meal-prep batch, or pork for tacos. That deep brown crust is not just color. It is hundreds of new flavor compounds forming on the surface, the same browning that makes toast and roasted coffee taste the way they do. It is called the Maillard reaction, and it only happens when the surface gets hot and dry.
Most home sears fail for the same reasons. The meat steams instead of browning, you get a pale grey surface, and the kitchen fills with frustration instead of smell. Here is what actually controls the outcome, in order.
1. Dry the surface, really dry
Water is the enemy of a crust. As long as the surface is wet, all the pan's energy goes into boiling that water off, and the meat steams in its own moisture. It cannot start browning until it is dry, and by then it is often overcooked.
Pat every side hard with paper towels right before cooking. For the best result, salt the meat and leave it uncovered in the fridge for 40 minutes or even overnight. The salt pulls moisture out and then the surface dries, giving you a head start on the crust.
2. Get the pan properly hot first
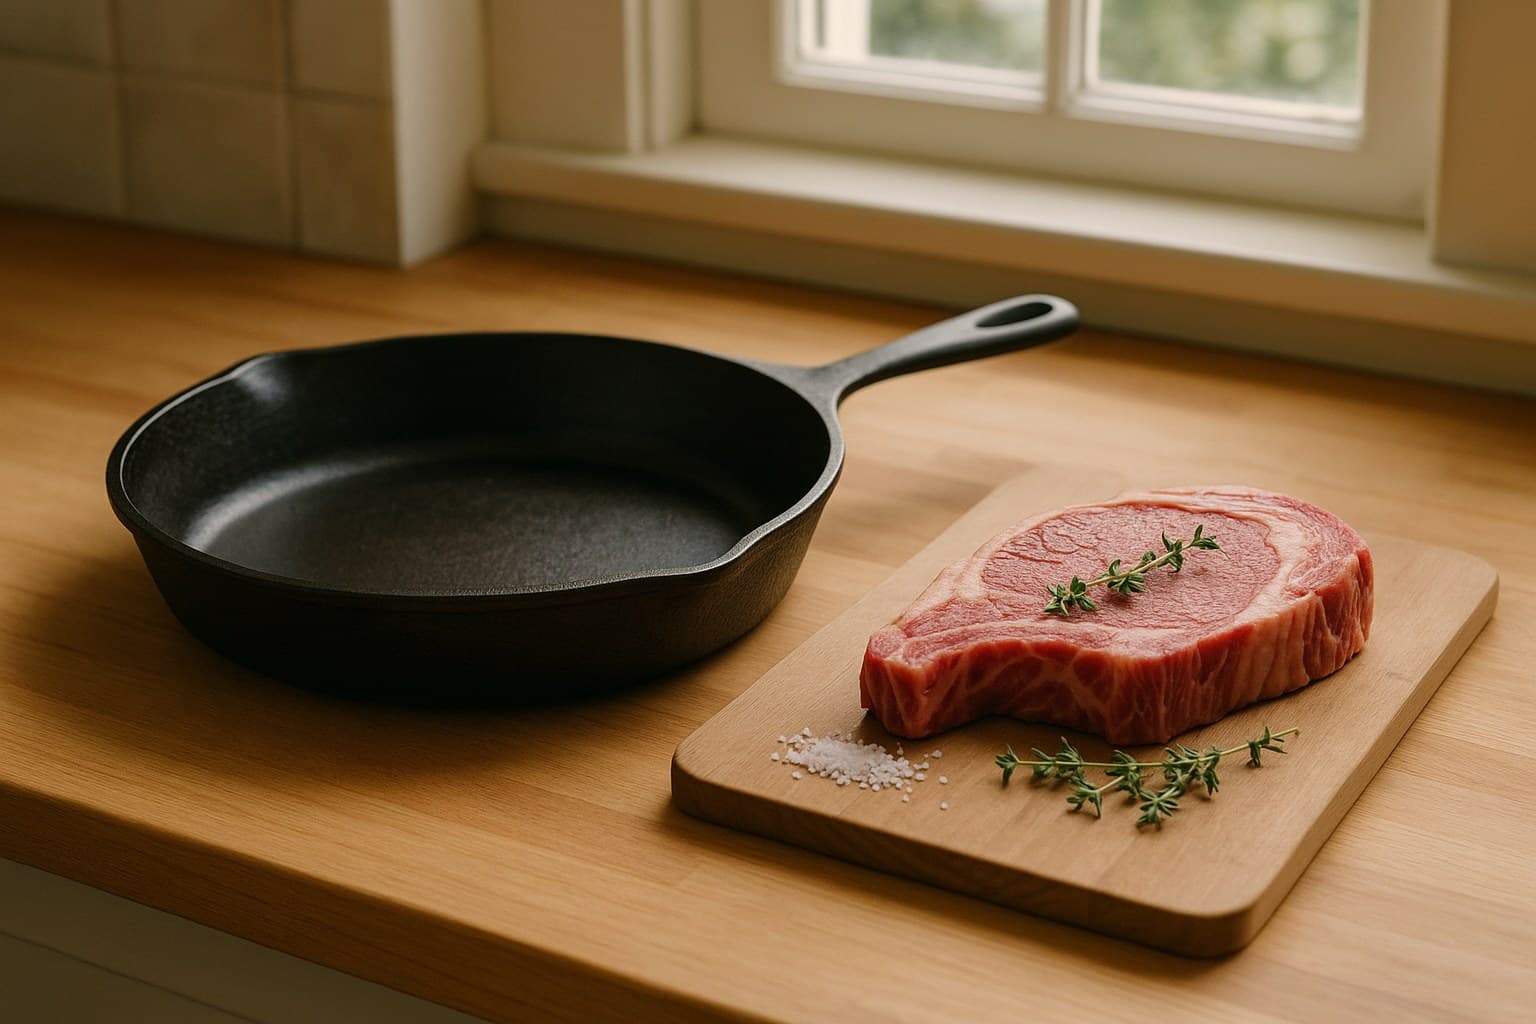
A cold or warm pan is the most common reason meat will not brown. You want to preheat the empty pan over medium-high to high heat for 3 to 5 minutes before anything touches it. Cast iron and carbon steel hold heat best and are worth reaching for when crust is the goal. A thin nonstick pan struggles because it cannot get hot enough and the coating dislikes the heat.
The test is simple: flick a few drops of water onto the pan. If they sizzle and evaporate fast, it is getting close. If they form beads that skitter around and roll like marbles, the pan is screaming hot and ready. That rolling-bead point is the searing zone.
3. Use a fat that can take the heat
Searing happens above the smoke point of butter and most olive oils, so they burn and turn bitter before the crust forms. Use a high smoke point oil for the sear itself: grapeseed, refined avocado, or plain neutral vegetable oil all work to around 200 degrees Celsius and beyond.
Add just a thin film, enough to shimmer and move freely. If you want butter flavor, add a knob in the last minute once the crust is set, then it browns instead of burning.
- Heat the dry pan first.
- Add a thin layer of high smoke point oil and let it shimmer.
- Lay the meat in away from you so any splatter goes outward, not at you.
- Add butter and aromatics like garlic and thyme only near the end.
4. Do not crowd the pan
Every piece of meat releases moisture. Pile too much in at once and that moisture turns to steam faster than the pan can clear it, and the whole lot greys out. This is why a batch of chicken thighs or cubed beef so often refuses to brown.
Leave finger-width gaps between pieces. If the pan is full, cook in two or three batches. It takes a few extra minutes and it is the difference between brown and beige. Browning a big protein batch this way is exactly how you make plain meal-prep chicken taste like something you would order.
5. Lay it down and leave it alone
The crust needs uninterrupted contact with the hot pan. When you nudge, lift, and flip too early, you break that contact and reset the browning each time. Meat also tells you when it is ready: a properly seared piece releases from the pan on its own. If it is stuck, the crust is not done yet.
As a rough guide on high heat, a steak wants 2 to 4 minutes a side, chicken thighs skin-side down want 6 to 8 minutes for that deep crisp, and small cubes of beef want about 2 minutes before the first turn. Set the piece down, do not touch it, and let the pan do the work.
6. Rest it before cutting
Searing drives heat hard into the meat, and the juices rush to the center. Cut in right away and they run out onto the board. Rest a steak or chops for 5 to 10 minutes, lightly tented with foil, and the juices redistribute so they stay in the meat when you slice.
Smaller pieces like cubes or strips need only a couple of minutes. Use the rest to deglaze the pan with a splash of water, stock, or wine and scrape up the browned bits for an instant pan sauce.
- Cast iron or carbon steel skillet — Holds and recovers heat far better than thin pans, which is exactly what a crust needs.
- Instant-read thermometer — Takes the guesswork out of doneness so you can sear hard without overcooking the inside.
- Neutral high smoke point oil — Grapeseed or refined avocado oil browns the surface without burning the way butter or olive oil would.
Put it together and the pattern is clear: dry surface, hot pan, the right fat, room to breathe, and patience. Get those right and a real crust stops being luck and becomes something you can do on any weeknight, for any meal of the day.
Tell Pann what you have, like "two chicken thighs" or "a steak," and it builds a full meal around it, sized to you, then guides you through the sear and the rest of the cook, step by step.